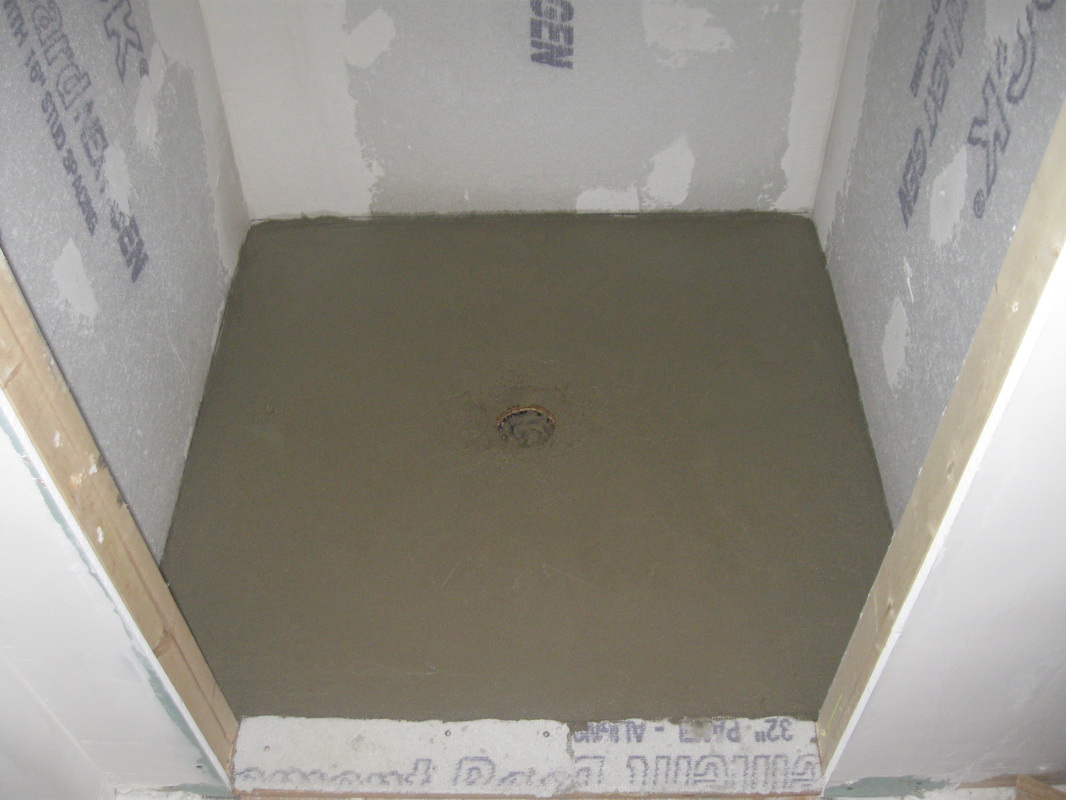
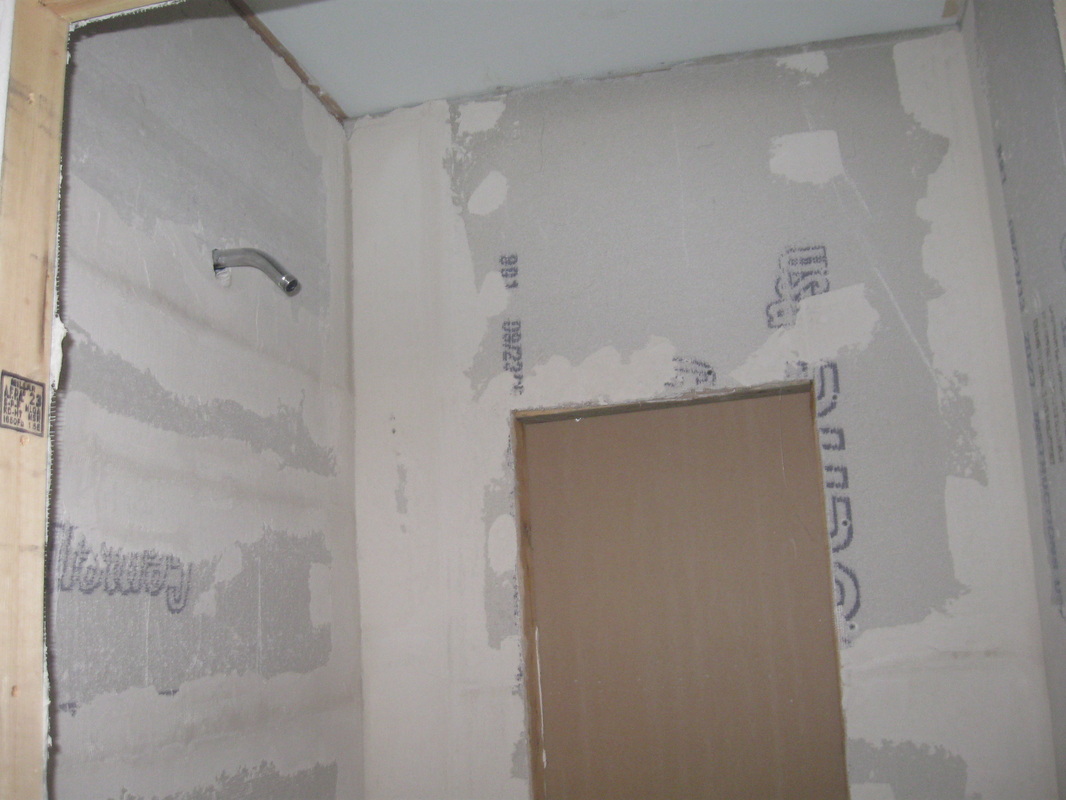
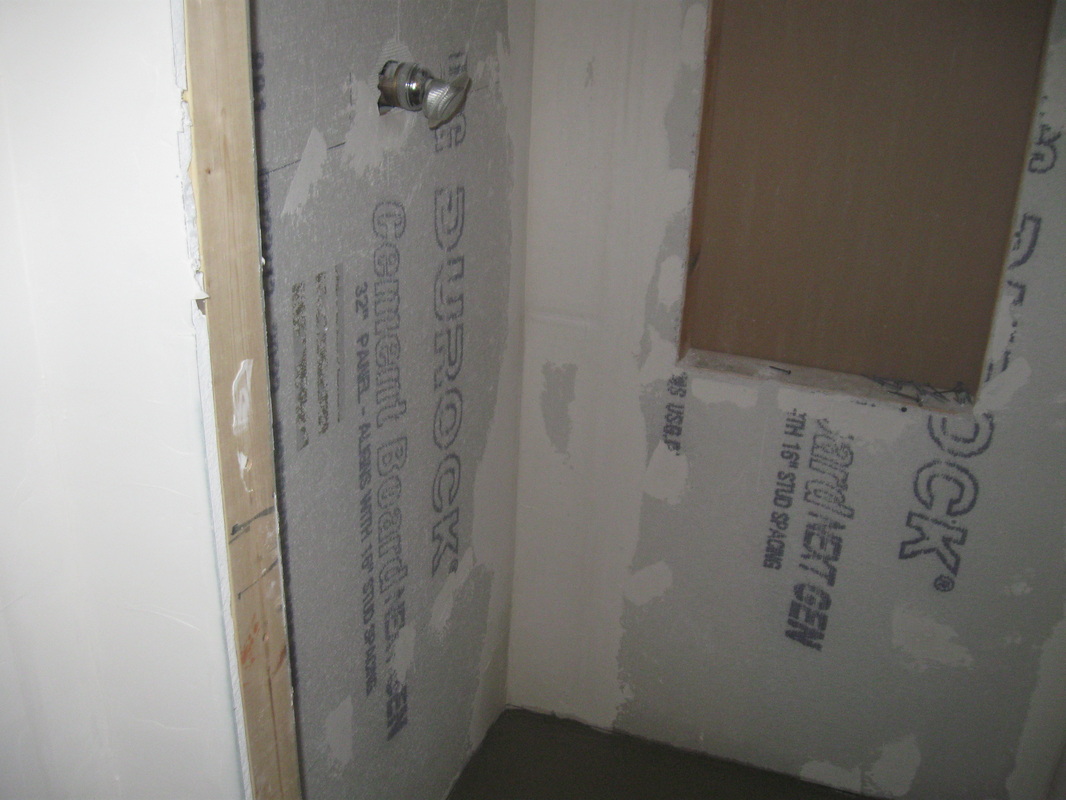
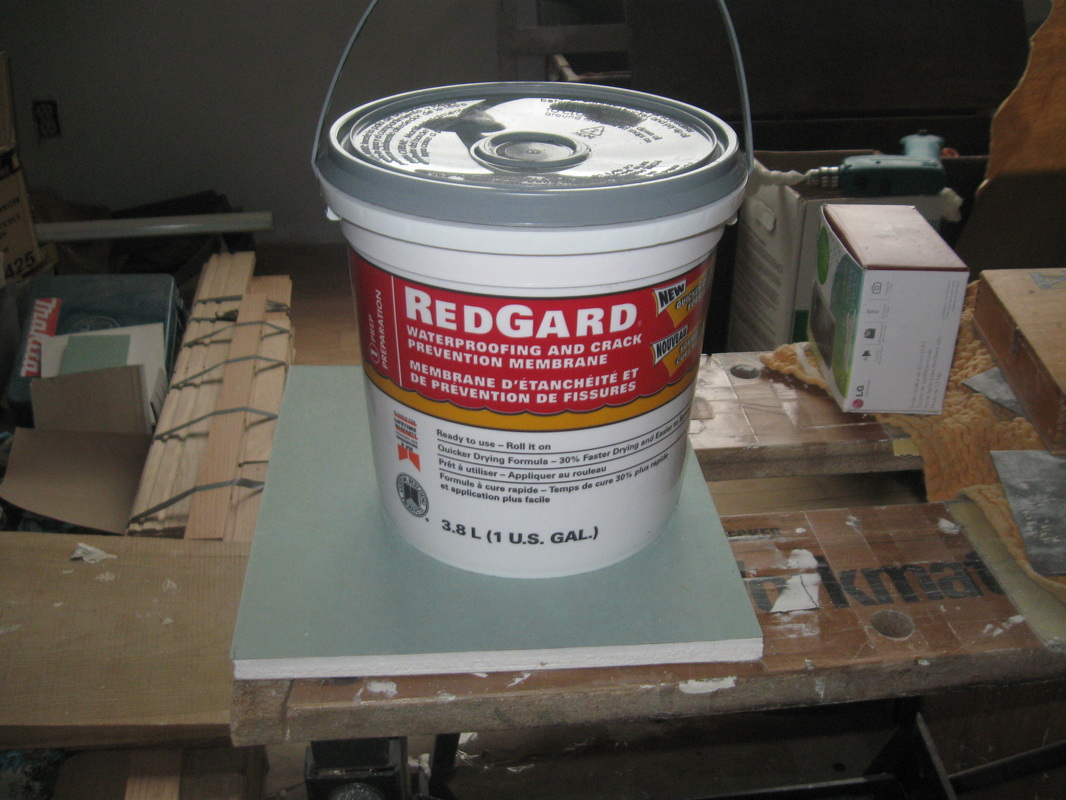
Yesterday and today I began finishing the prep work to tile the shower. The shower stud walls were first insulated with foil backed fiberglass sound insulation and then covered with a black 6 mil poly as a moisture shield. Then I attached the cement board with ceramic coated screws. I then used a portion of the tile setting compound to fill the corner gaps, butt joints and screw holes. Being carful to not make bumps and to level out any areas where there may be deviations from a flat true surface. And, just like drywall, a joint tape, the fiberglass variety, must be used over the gaps before applying the thin set. Today, my job was to put down a thin concrete floor in the shower. I first put down some mesh, staying about 6 inches back from the drain. Then I dumped one bags worth of ready mixed topping compound on the floor and spread it out, being careful to insure there was a slope from the wall to the drain. The drain is dead center in the shower stall. Before I dumped the concrete mix I made a level line around the circumference of the shower and kept the high point of my wet concrete consistently half an inch below that line all around the inside of the shower. In a day or so when this is all dry I will then apply two coats of the Red Gard moisture barrier to the walls and floor of the shower. This 1 gallon pail of moisture barrier is over $100 with taxes and I need two. Once I got off the floor after paying for the supplies at the Home Despot, I made my way home and got right at it. I reckon in three days I will start tiling the shower.
|
|
Barry A. CroweA newly single dad of two beautiful boys. University educated, procurement and project manager professional forging ahead building my business, raising my boys, renovating the family home, living and loving. Archives
March 2015
Categories |
 RSS Feed
